One of the most important things needed, especially in arid climates, is a pond. In Permaculture, water is the most important element of a design. A pond has a far greater attraction than a plain old water feature, as it’s literally brimming with life.
Not only does it create a micro-climate, but it attracts beneficial insects, allows birds and small wildlife a place to drink during the extreme heat of the Summer. A good mix of aquatic plants does more than beautify a water garden. A mix of marginal, floating and submerged plants also absorb excess nutrients in the water and shade the pond’s surface, which can help prevent algae attacks and protect the fish.
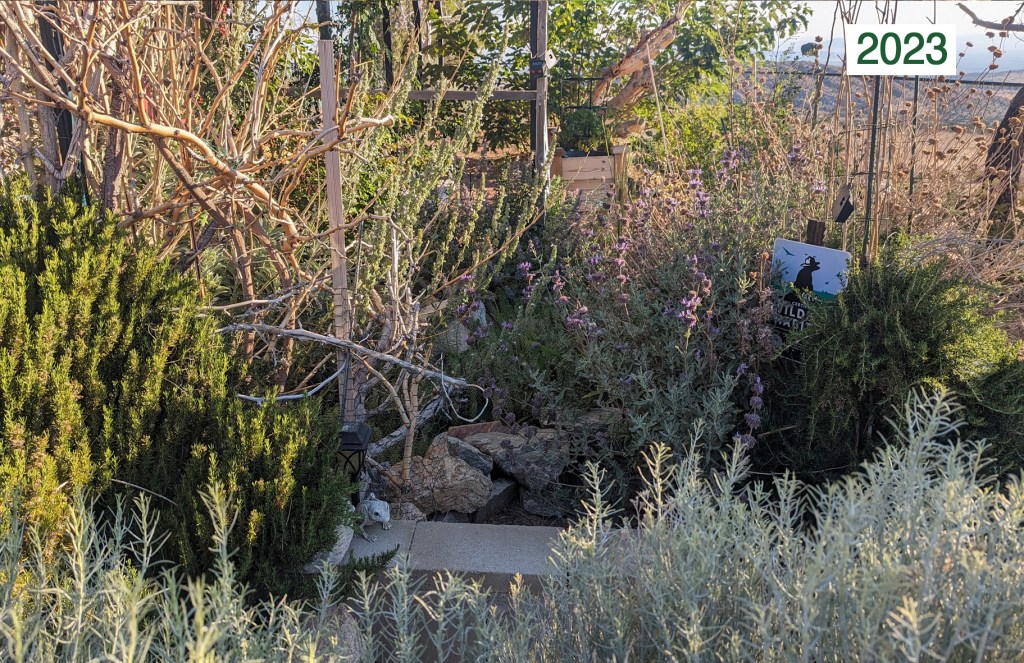
I plan on a number of them, but I found that the odd square block at the front of our house was a great place to add a water garden. Here is the final view, but I will go back and provide a step-by-step of building this pond. It took a year to do, but I took my time in digging so I could do it right.

The place I chose was a square concrete dirt box. The seller of our property called it a “pumpkin patch”… After the first couple of months, I found that ground critters would eat anything I planted in it, so I realized it was pretty clear that the former owners couldn’t get anything to grow in it

I personally am not a fan of square garden beds, or concrete. So I began to work all around it to mask the boundaries and begin to formulate the pond area.

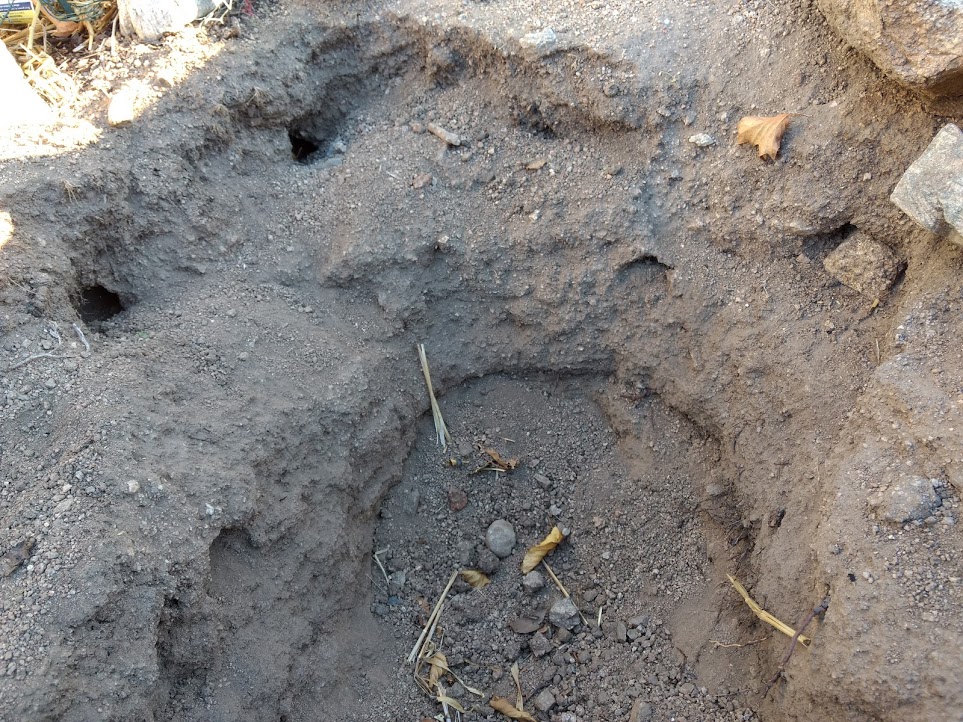
One of the biggest discoveries were the critter holes as I dug deeper.
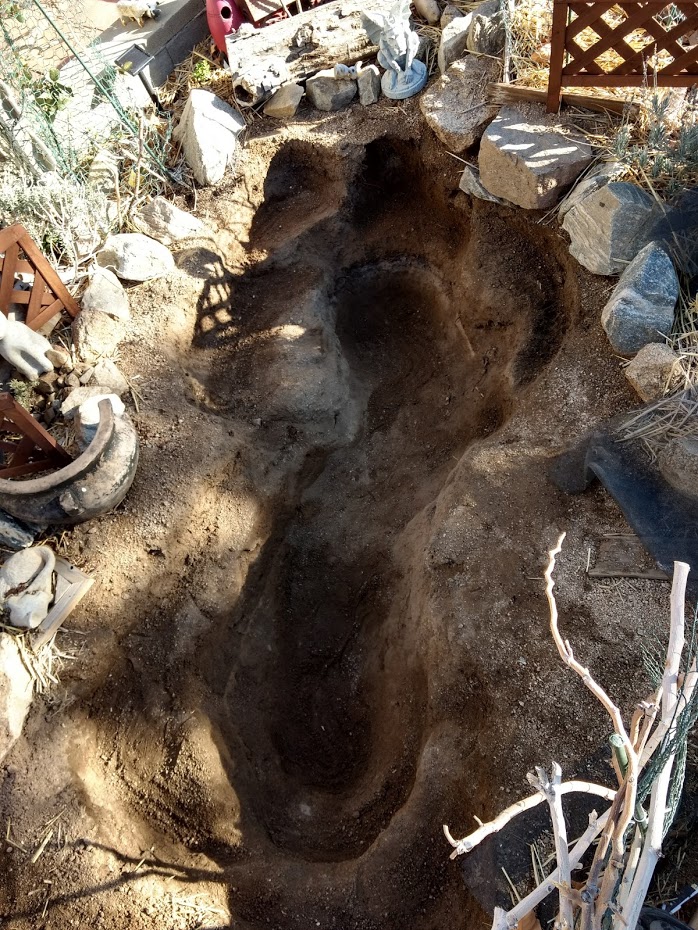
This is a “Figure Eight” shape, the deep areas are about 22″, and I carved and sculpted out shelves and shallows throughout the Winter, every time it rained.

Once I got it finally in shape, it looked like a very deep footprint. I was glad to see that nothing had come through the critter holes over the last few months, so I felt safe that they had all gone.
I measured that the length was 10 feet, and the width was about 7 feet with depth added on both sides. I ordered a very hardy 10 X 14 pond liner, HDRPE, 30 Mills, guaranteed 40 years. Taming it and getting it to fit into the pond took time. The liner is extra thick and stiff.

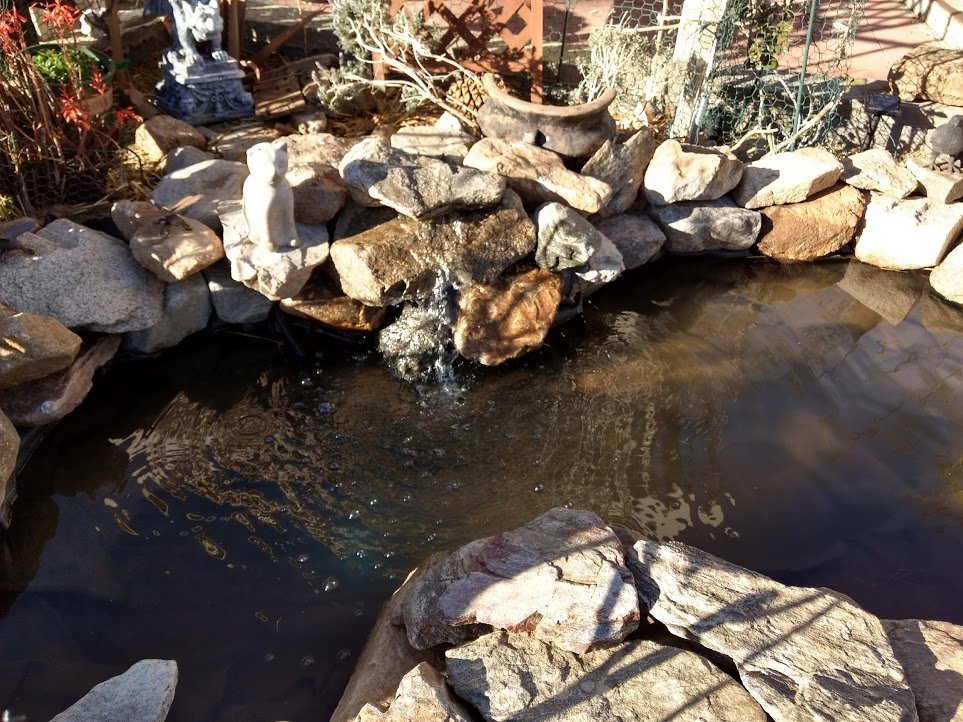
Ponds benefit from filters and fountains, so I bought a small pond water pump, and then made my own filter out of an old plastic basket and two types of filter pads. I cut holes in the center, and put the pump inside. The pump came with a hose, which I attached through the top and then slowly sunk the whole thing down to the bottom. The other side of the hose I placed through the rocks as a waterfall.

Here is the pond, finished in late January so I could just let it be over the next couple months and allow it to start up its biology.
Pond in Spring, 2018.

As the Summer months commenced, I realized that the pond plants alone were not giving the pond enough shade or shelter. We also have rough winds that come through the South (left) side. So I built a shade system out of branches and a found piece of trellis for the top.

I inserted two posts, which I wired large branches all over, and then wired the top trellis to them on all sides. This has been an amazing help on shading the pond – and has been completely wind-proof.

UPDATE! An entire growing system is in place, with little upkeep required.